yeah,new semester (final semester hopefully) just started last Monday..and, on Tuesday, i already missed a class because i'd mistakenly look at the wrong schedule. ._.
anyway, this year i wanna make a clear list of my 2011 new year’s resolutions. *sort of*
1. Buy new phone
2. Drink a lot of water
3. Graduate
4. Travel
5. Learn how to take great pictures
6. Start dating?
7. Eat healthy foods
the title should be, how i read blogs/website that i subscribed. :P
*clear throat*
As you can see, this blog does not have the 'follow widget' thingy like 'normal' blog.
the reason is, i dont follow other people blog, i SUBSCRIBED to their blog.
how to subscribe?
this is how i did it. i dont know how other people do, but this is my way, it may differ with your way.
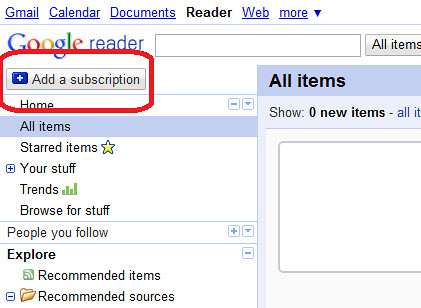
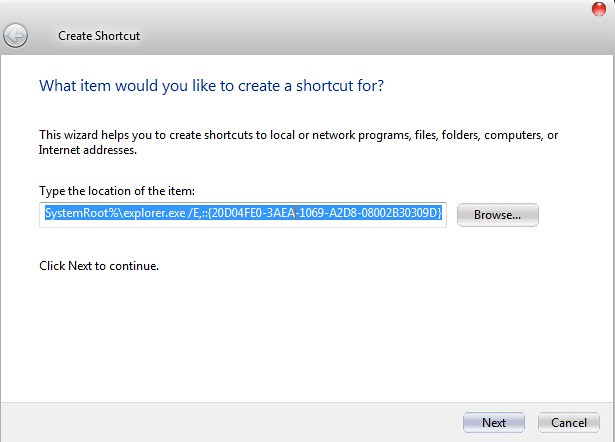
1st, you must have a google account.
open google reader and sign in with your google account
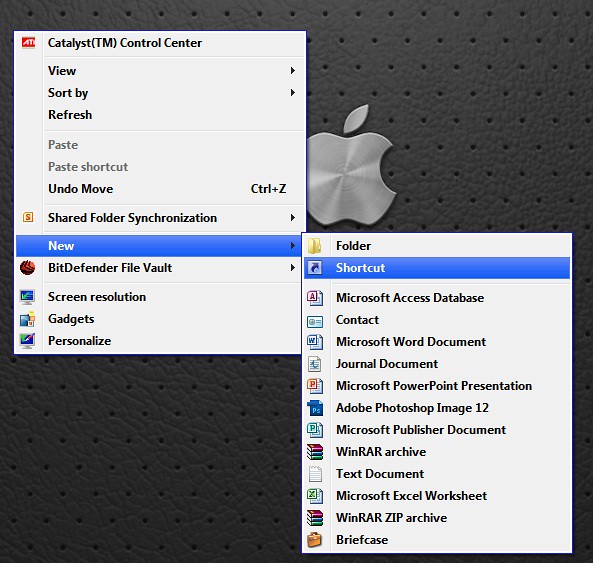
at the top right corner, there is a "Add subscription" *refer picture mark in red*
click the add subscription and enter the url of the blog you want to 'follow' (read : subscribe)
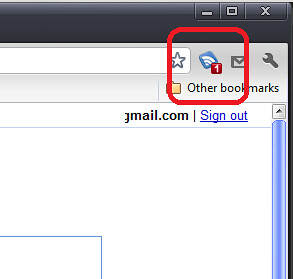
it will notify you how many unread item you have. *refer picture, 1 unread item*
i dont know, but i think only blogger have this follow thingy. i want to 'follow' wordpress based blog too, and other website such as engadget, flisterz, gizmodo etc.
ps: this post is scheduled at the same time as the USM final exam result (provisional) for semester I 2010/2011 session came up which according to the notice at 9.00am. For USM students, check your result here. x_x
The term rollover in this regard originates from the visual process of "rolling the mouse cursor over the button" causing the button to react.
Rollovers can be done by imagery, text or buttons. The user only requires 2 images/buttons (with the possible addition of "alt" text to these images) to perform this interactive action. Rollover imagery can be done either by a program with a built-in tool or script coding..continue read here
Step 1 : Account Registration
go to logmein.com
and click the "Try it free" button which is green in color.
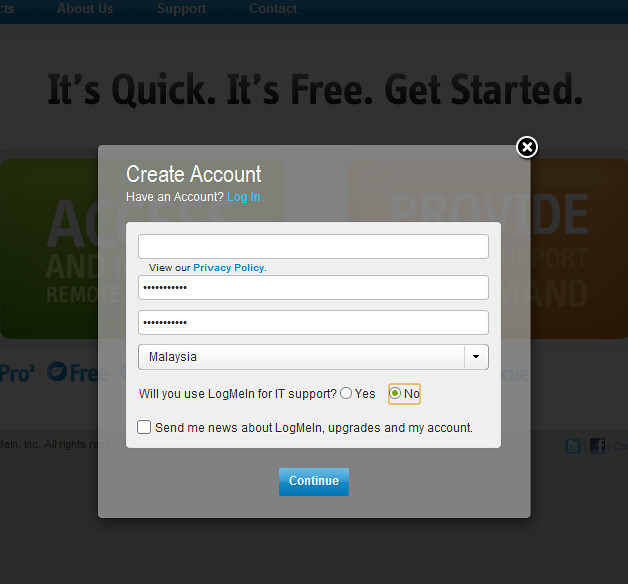
click on the left button. which is Access and a 'popup' will ask you to create an account.
fill in the details
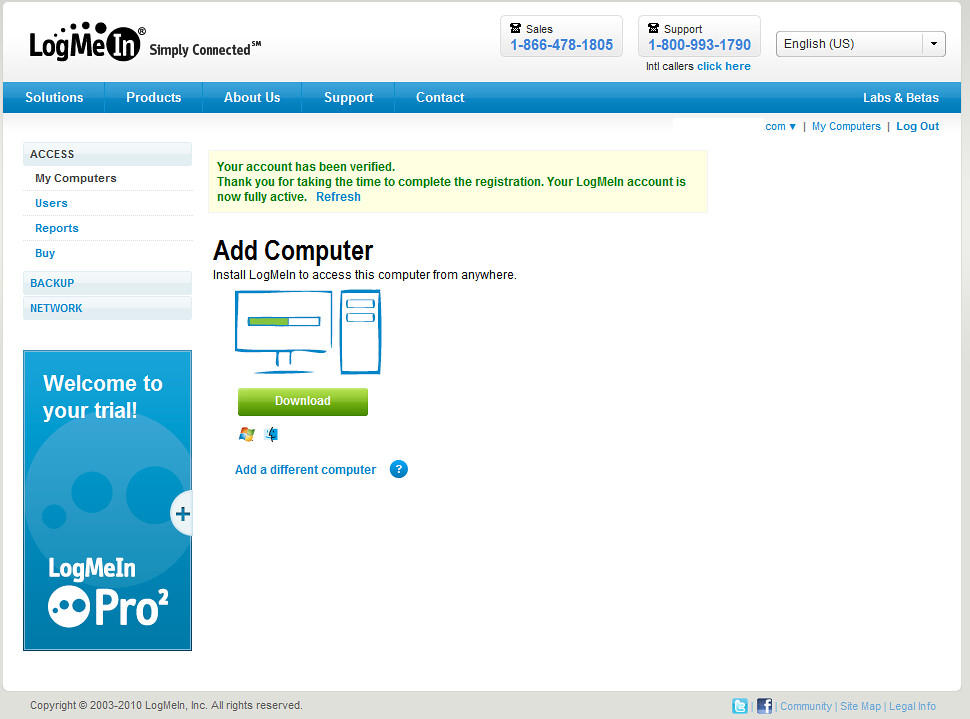
an email will be sent to your account for verification. in that email, a link will be provided to active your account. click on that link and you'll be directed to the logmein page
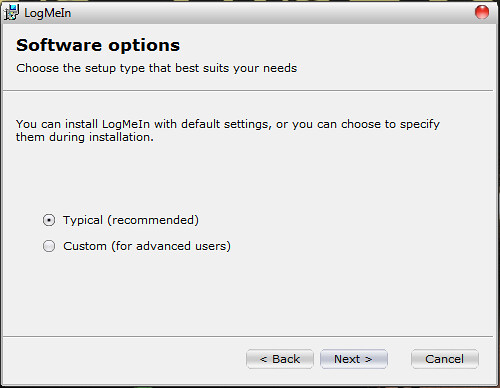
Step 2 : Installation
after your account is activated, click the Download button to download the installer.
wait the download to finish. and run the installer after it had finished.
just follow the instruction. it should be basic though~
next
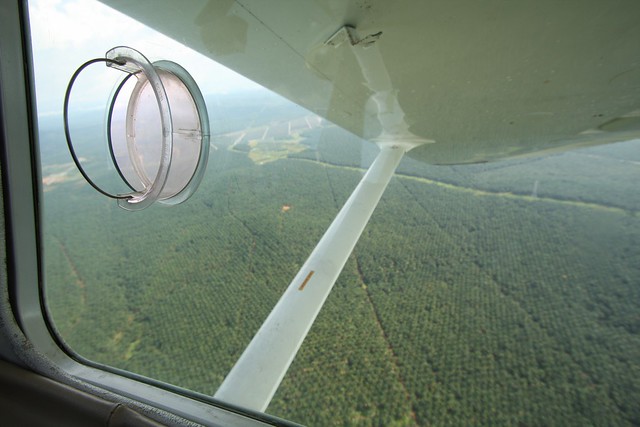
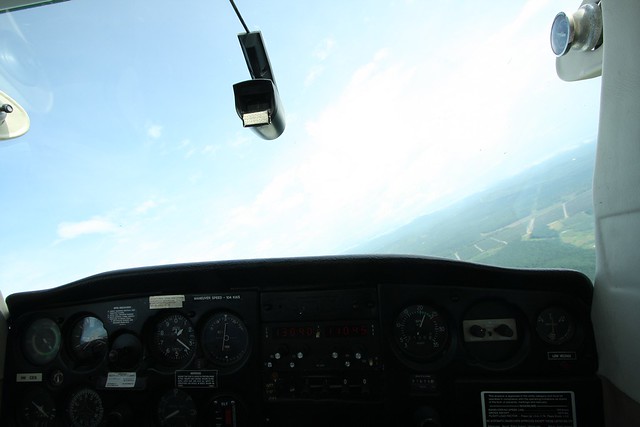
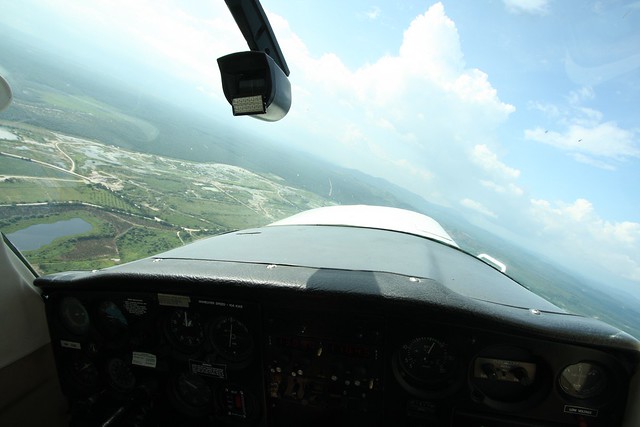
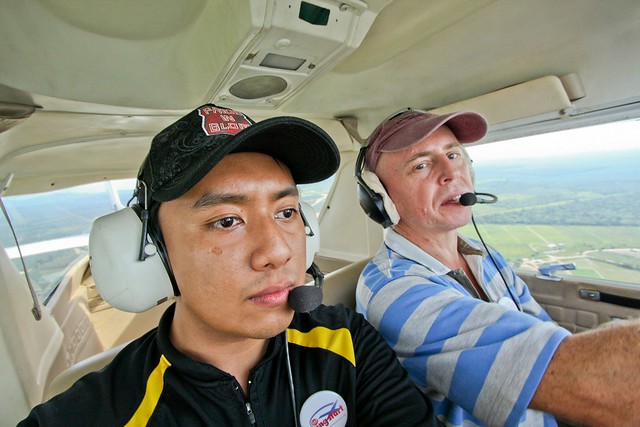
after takeoff, mr graham (the pilot) do some basic control of the aircraft. rolling, pitching, yawing. after that,
He LETS ME CONTROL THE FREAKING AIRCRAFT!!!
i play around with it..roll to the right, left, pitch up, down..and then he said,
"let me take the control back, you can take some pictures if you want to" :p
sorry for the delay for part 2 of this post. :)
not feeling well last week + the laziness syndrome to update blog is surrounding me due to many things occurs around me.
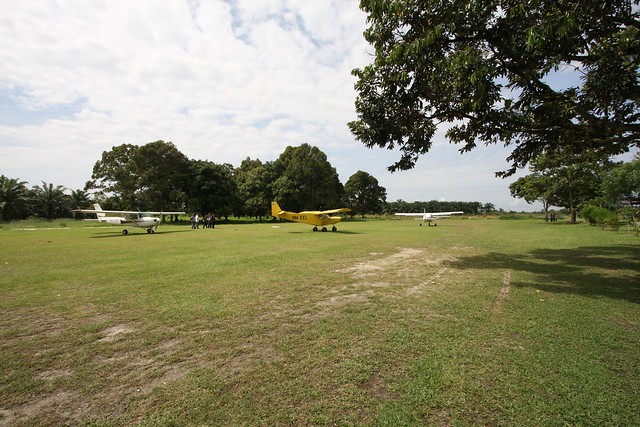
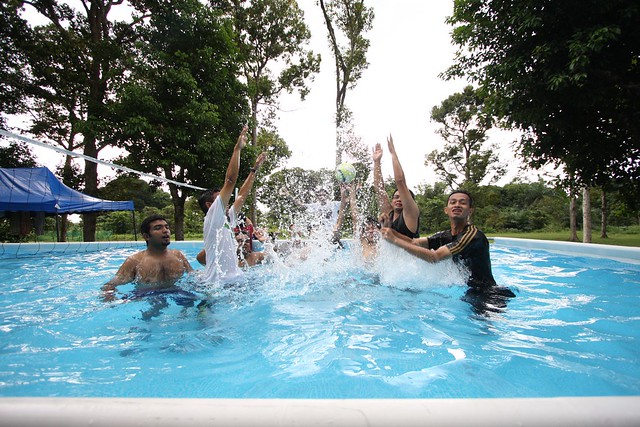
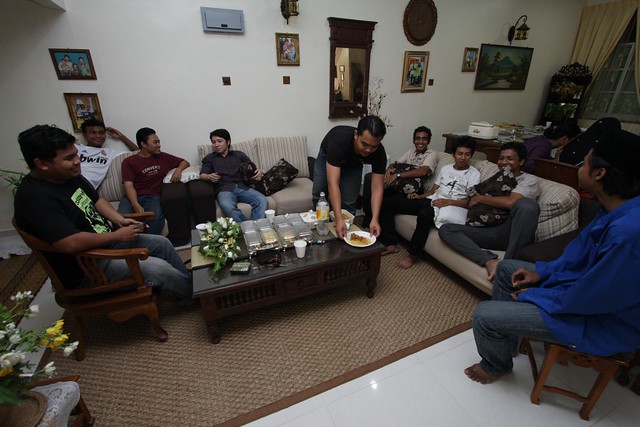
after the group photo session, the familiarization flight start. and others who doesn't fly can jump in the swimming pool or play the flight simulator.
person who is lightest will fly first. (early flight. more fuel in the aircraft. more weight. hence the lightest fly first. geddit?)
so, activity for gemuk2 + unlucky to catch the first flight :
lepak + sembang2..
playing the flight simulator
jump in the pool
and..after a few hours + raining + lunch + few event i cant remember..it's my turn!
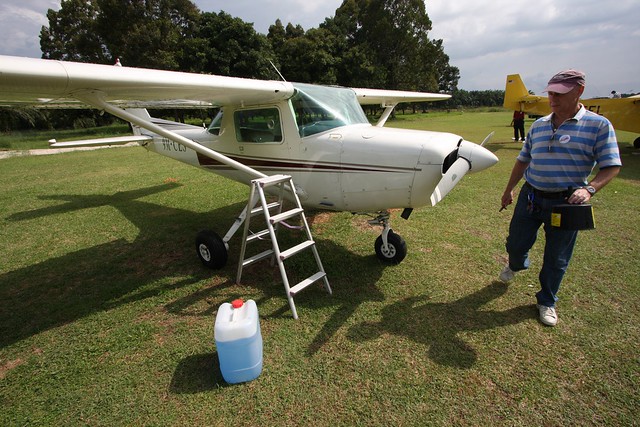
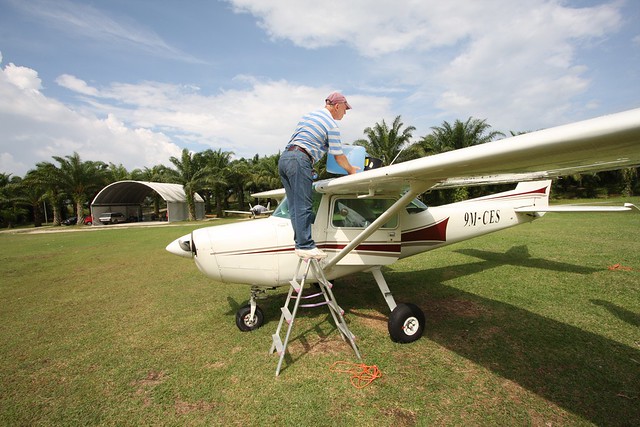
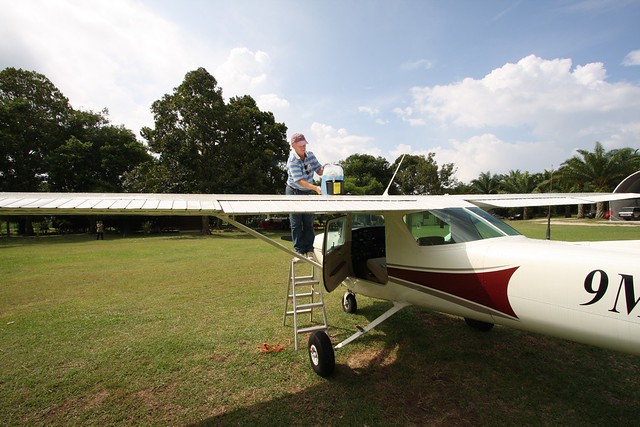
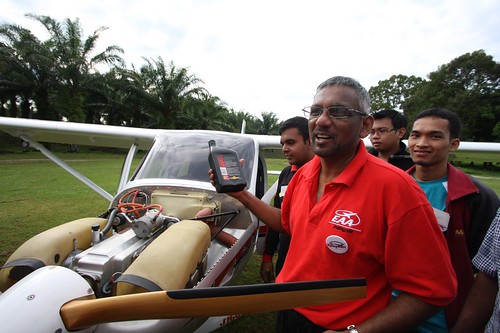
this is the aircraft i will be flying with mr pilot (mr graham)
refuel. the blue water thingy is the aviation gas which cost ~ RM6.++/liter..some of the other aircraft can run using normal petrol (ron97)
can u see the hangar at the back? i carried the fuel from there to the aircraft. just saying. lol
still refueling.
to be continue.
there will be 2 videos of the takeoff and landing, since the video is not yet converted, i'll put it up in part 3 + pictures during flying.
kthxbye~ :)
(due to connectivity issues, i cant upload all the pictures, hence the 'part by part' post.)
Flaying Start Program is a program where you sit on an aircraft and try to fly the aircrat without any training.
no la..it's actual an early exposure before you fly in an aircraft and in my case, a light aircrat (2 passengers aircraft).you will be given an opportunity to control the aircraft though. :D
since it'd been a while since the program passed, i already forgot the small details during the program. sorry. :P
let start with day 1.
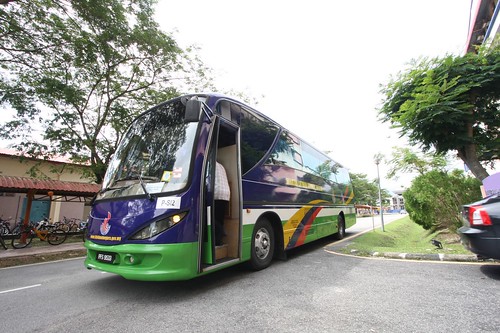
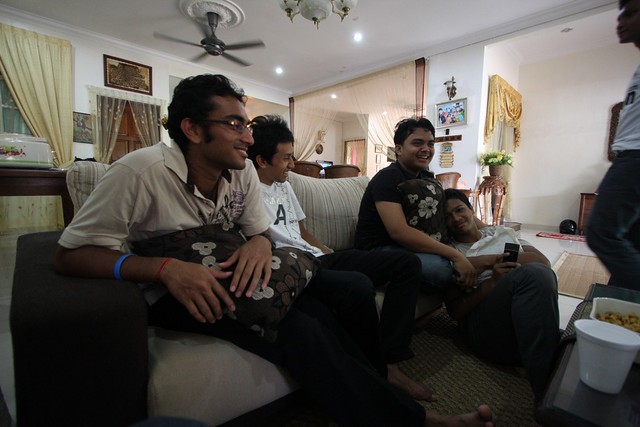
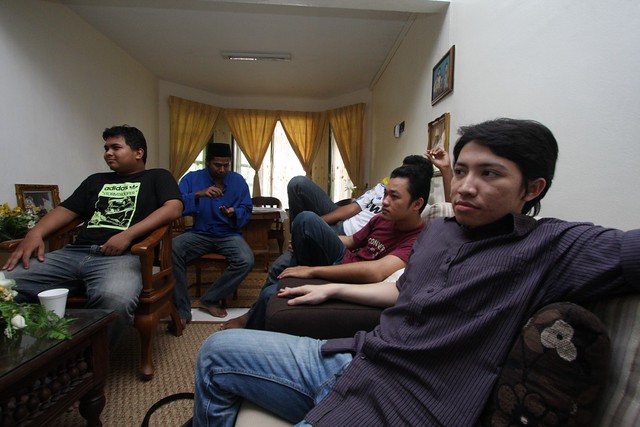
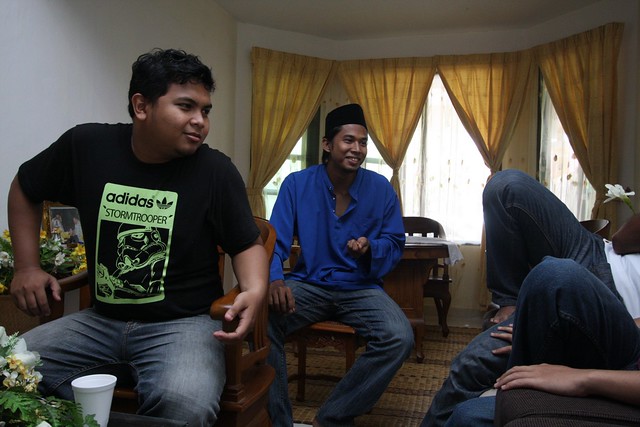
departure from campus is schedule around 230pm. but we depart around 3pm.
the bus was not late..so do we..but we waited not at the same place where the bus is. -___-"
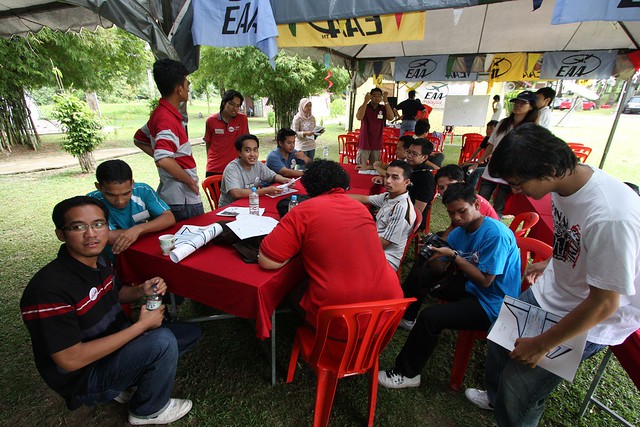
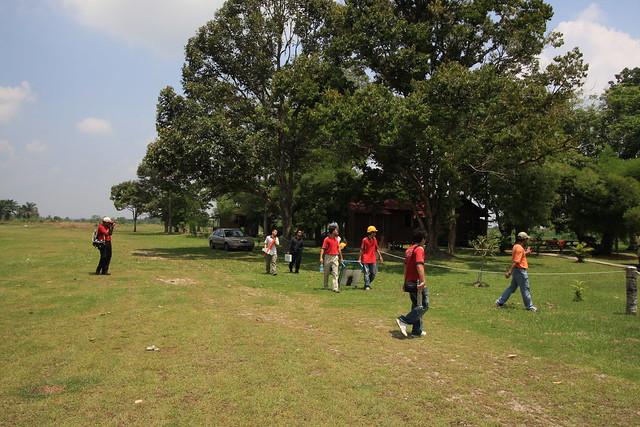
arrived there around 8-9pm..and the organizer start the briefing..(schedule, rules etc)
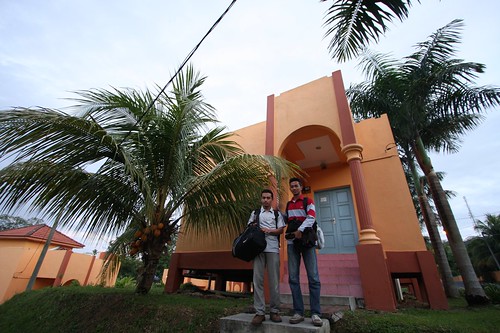
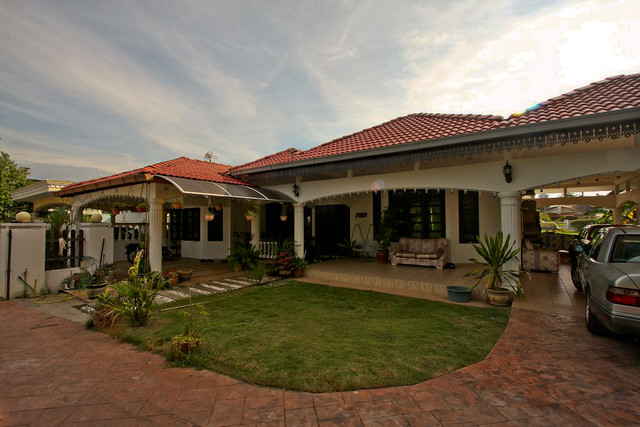
the plan is to set up camp at bernam river airfield.(my first time real camping after 22yo of my life) but due to rain, first night we stay at the guest house.
slim river guest house if i'm not mistaken. :|
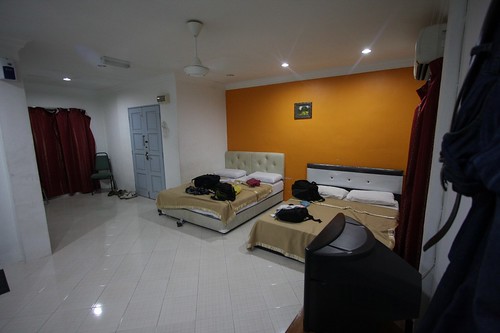
two beds shared by 4 students.the room have hot shower, air condition room, tv and how can i stay in a tent after all this. haish..spoiled my mood.
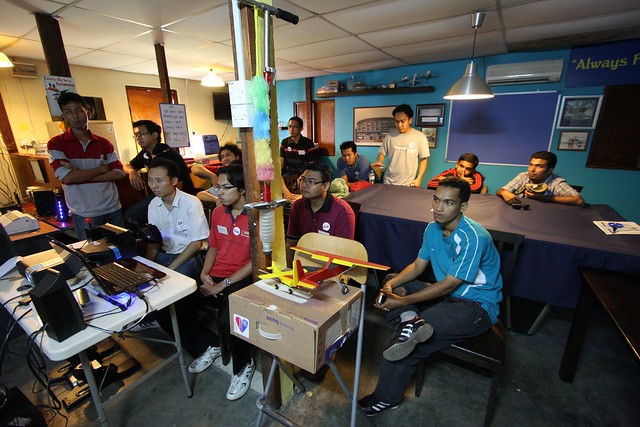
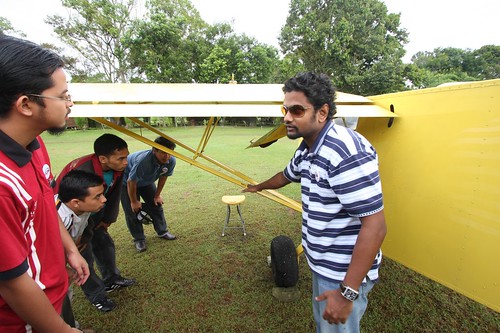
the next morning, we start the program. breakfast and walkaround the aircraft.
picture shows one of the members explaining basic what we check during the walkaround activity.
it is not same when you drive you car, you just start your engine and off you go. if you wanna fly an aircraft, you must check everything. engine oil, fuel, screws, cracks, sensor, tire, etc.
will be out for Flying Experience Program this weekend!
cant wait..will depart from campus at 1430 to Bernam River Airfield.
the airfield is like a private small airport for small/light aircraft.
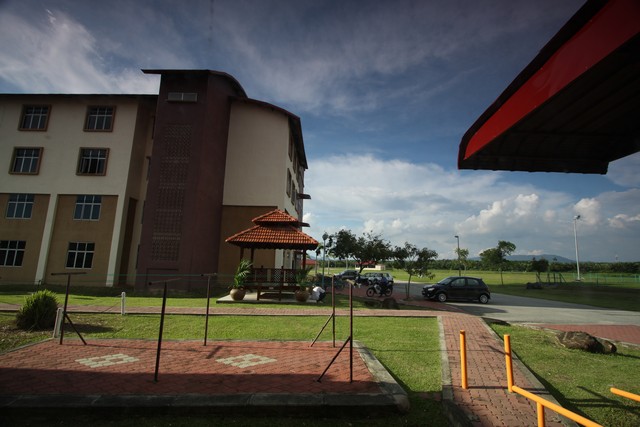
and here's some sort of view when i'm there during my industrial training.
there are a few chalets, but it's not enough to accommodate us(the students). solution, sleeping in tent. :(
anyway, will be there to fly in a two passengers aircraft, and learnt a few things about flight instruments, preflight check, playing flight simulator etc. cant remember the details
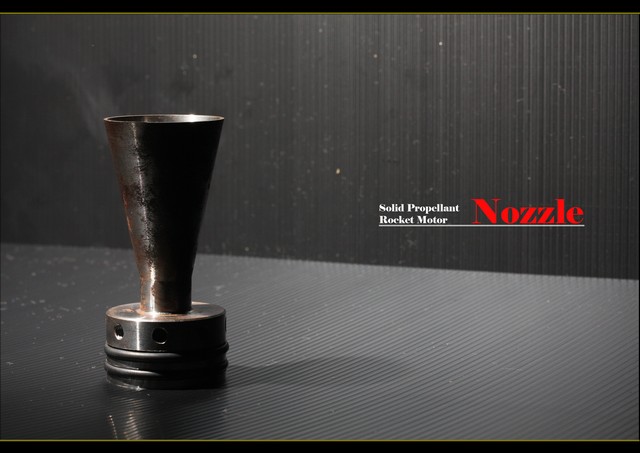
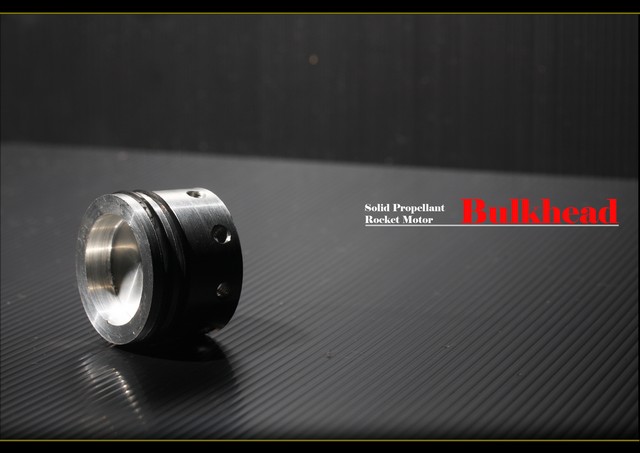
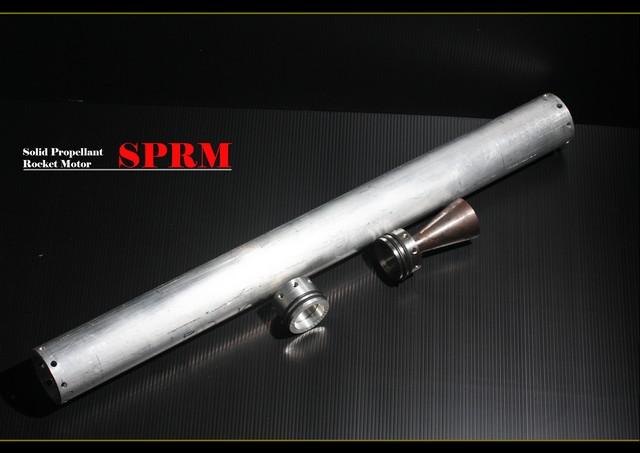
This is the thing that i had to fabricate during my industrial training.
since tomorrow i had to do some presentation, i decided to make some sort of comercial shot of
the Solid Propellant Rocket Motor (SPRM).
this is the rocket nozzle, as u can see, the nozzle already oxidized. lazy to sand and apply some oil to protect it..uhu~
and this is the bulkhead..usually bulkhead is in front of the rocket.. :)
and this is all of them together..you can see the picture is a lil bit overblown at the motor casing due to the flash fire directly on it and i dont notice about it till i upload in my pc..
all picture are taken with
canon 40D
60mm macro lens
off shoe flash
ps: ignore the crappy background..that's the thing i want to use as my poster. hehe
pss:do not use my picture without permission. tq~
 12/31/2010 08:00:00 PM
 d2z
d2z